Installation of Python and Jupyter
Contents
Installation of Python and Jupyter#
Learning goals:
To be able to install and verify software
Install and start Python and Jupyter
Keywords: Python, Anaconda, conda, pip, Project Jupyter, Jupyter Lab, Jupyter Notebook, package conflict
Note: Since Python and Jupyter are core components of the course, it is imperative that the installation works.
Associated material:
We will install Python 3. The previous version, Python 2, has been officially deprecated and it is no longer maintained.
While Python 3 and Python 2 are compatible to a large extent, there are differences and incompatibilities. This should be kept in mind especially when searching for information from the net or when using books that provide examples in Python 2.
Installation#
There are two main options:
Anaconda (or Conda)-based installation and
pip (Python Package Installer).
Both are good choices but there are differences. Conda installation gives immediately a very large number of packages including the most relevant ones needed in this course. It is a very convenient choice and the preferred one here. Anaconda has a both a graphical user interface as well as command line (conda). In addition, both Jupyter Lab and Jupyter Notebook are installed automatically with Anaconda. Pip, however, gets new packages usually faster but all packages must be separately installed and there is no graphical user interface. This also means that Jupyter must be installed separately. With pip one also has to be more careful with package conflicts and it is generally a good idea to use so called virtual environment to avoid problems.
In brief, Anaconda is easier. In addition to Python, Jupyter Notebook and Lab will be installed immediately. Anaconda is available for Windows 10, MacOS and Linux. Pip may be your choice if you have already experience with Python but Anaconda is recommended for the current purposes.
Note regarding Windows vs WSL/WSL2: The Anaconda installer works great in Windows and it also works in WSL/WSL2 through the Linux installation process. It may be more convenient to use the Anaconda installer in Windows, although that is a matter of personal choice. In addition, WSL/WSL2 have a basic Python installation present (not the full Anaconda distribution, though) in case needed.
Note regarding Mac: Older Macs come with Python 2, but is no longer the case since MacOS Catalina. Independent of Python is present, the Anaconda installation is recommended.
Linux & WSL/WSL2
With Linux and WSL/WSL2 you already have Python installed. It may be, however, more convenient to install Anaconda as it comes with almost all possible necessary tools. Pip installation is also provided below as one of the options.
Option 1: Anaconda
This is the recommended way.
Go to the Anaconda Installation page
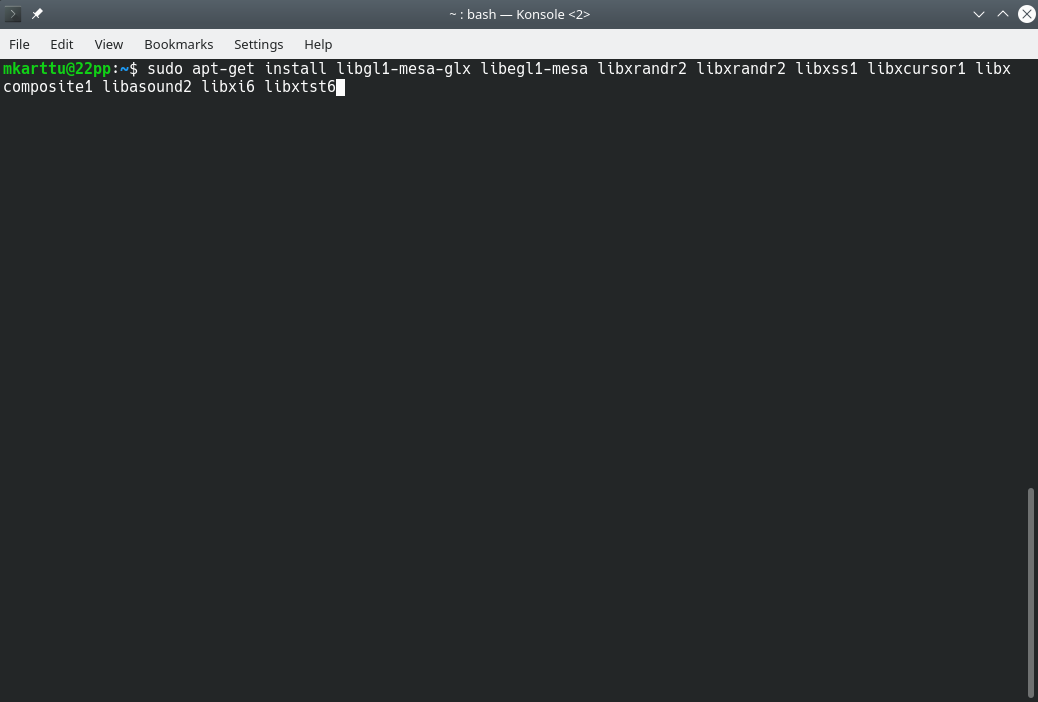
The page lists a pre-requisites that need to be installed. If you are using an Ubuntu based installation, simply open terminal window and copy install the dependencies. Here’s how you can install the pre-requisites:
sudo apt-get install libgl1-mesa-glx libegl1-mesa libxrandr2 libxrandr2 libxss1 libxcursor1 libxcomposite1 libasound2 libxi6 libxtst6
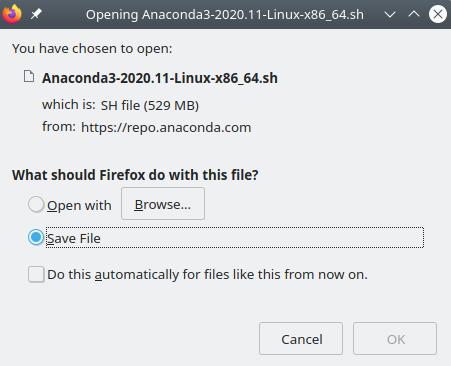
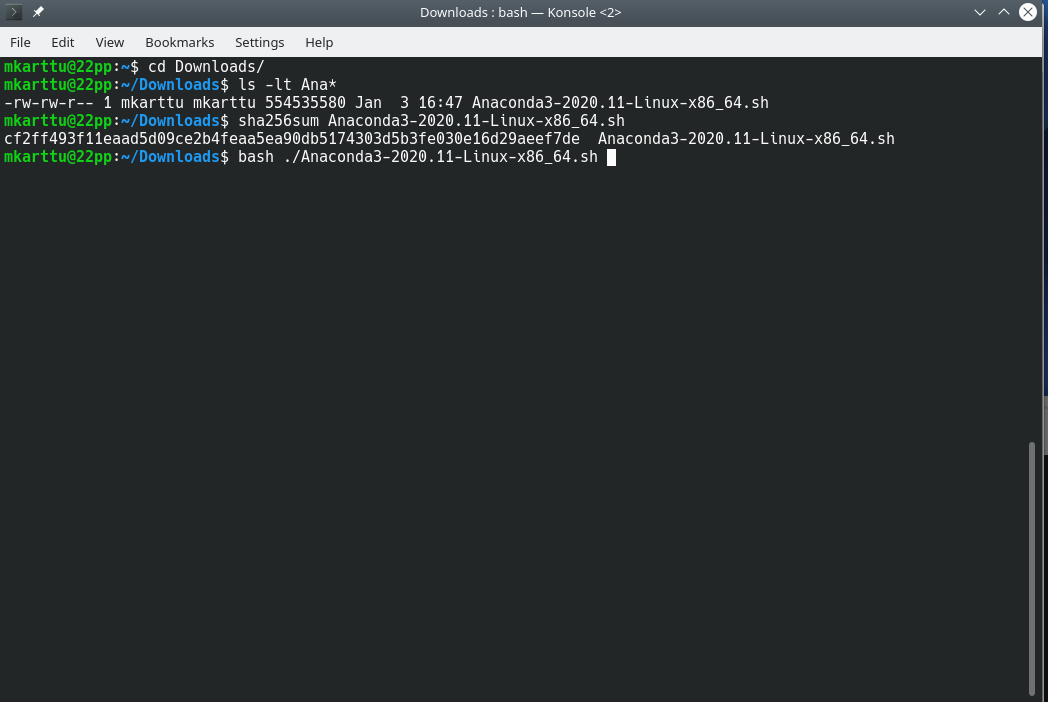
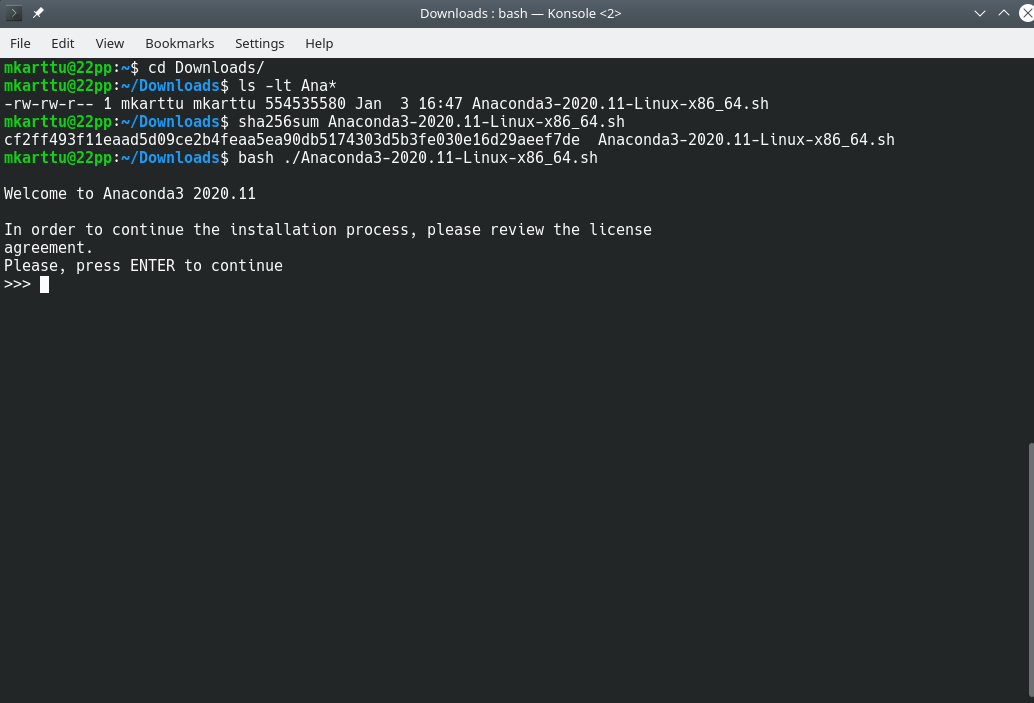
Then download the Anaconda Installer from Anaconda Installation page and follow the instructions.
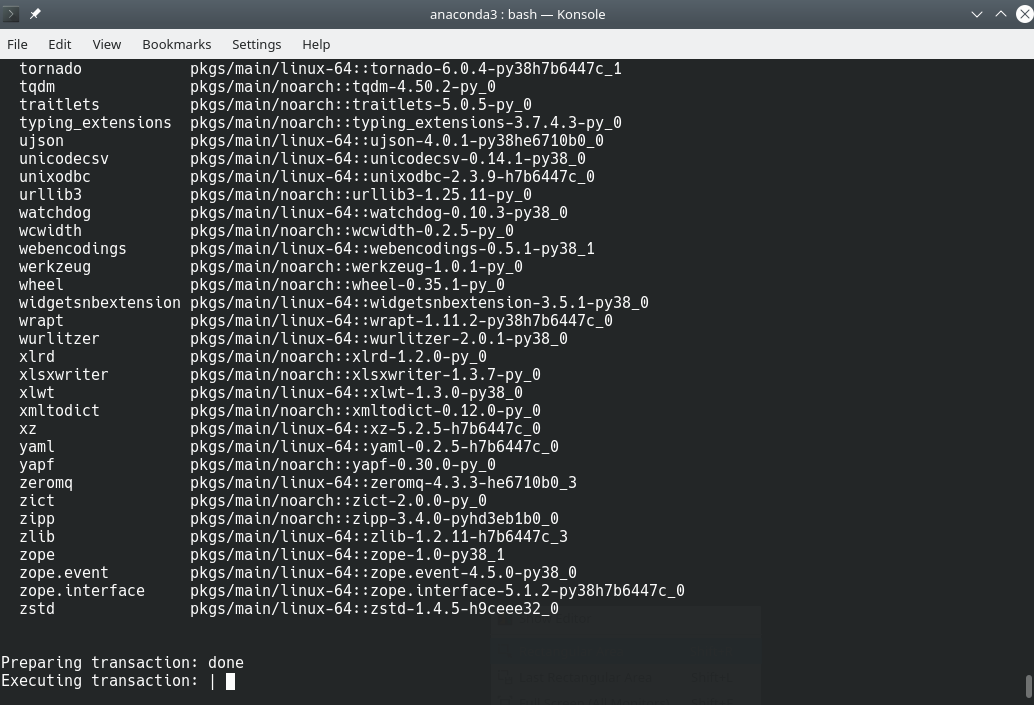
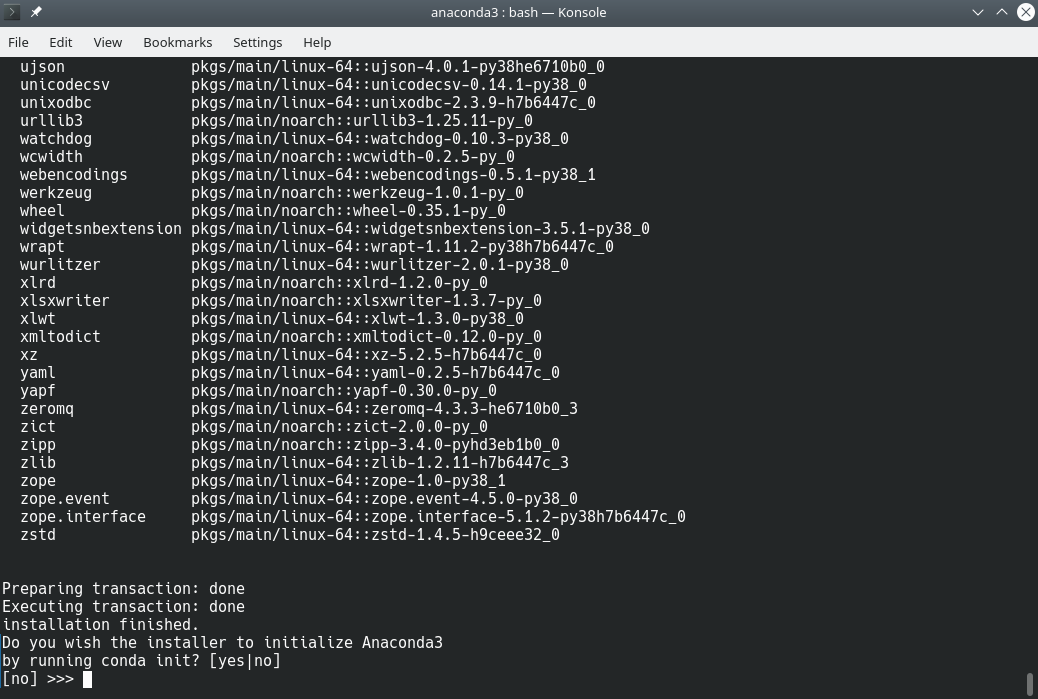
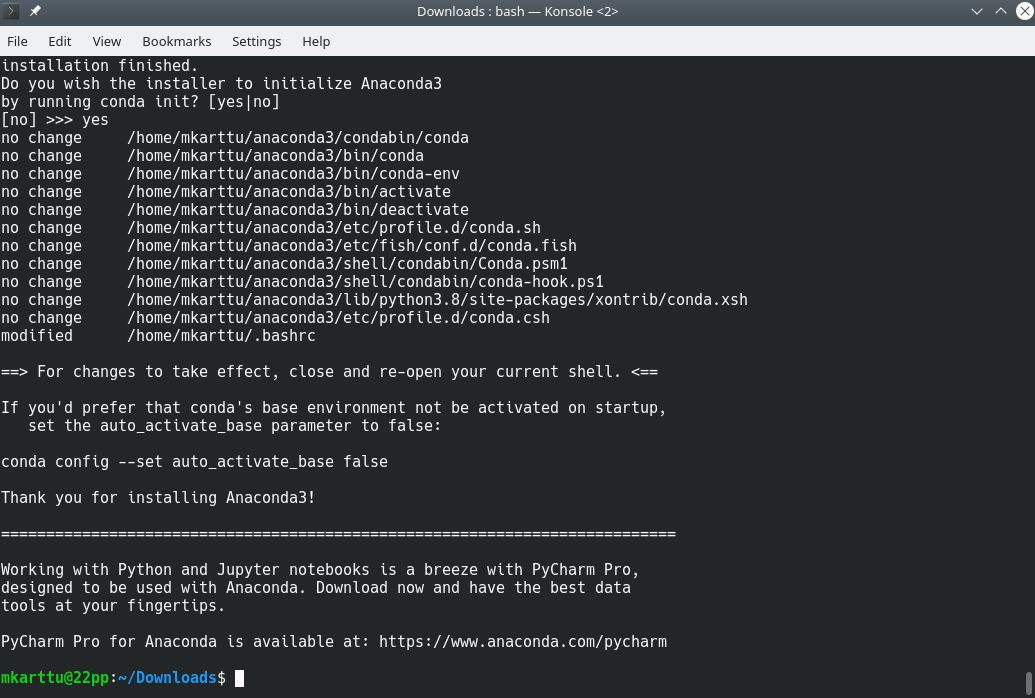
As the last step of the installation, you are asked to verify your installation. Do not skip this step!
For this step, open a new terminal and type
conda list. If you get a list of routines, then your installation is complete.
Below are screenshots from the installation process.
Note that Jupyter Lab and Jupyter Notebook are now present
Option 2: pip
Please notice that the Anaconda installation is preferred.
Windows 10
On Windows 10 the best and the easiest option is to install Anaconda.
Go to the Anaconda Installation page
Select the option for Windows and follow the instructions on the page.
The installation will provide you with the option to install PyCharm. It is optional, decide based on your needs.
As the last step of the installation, you are asked to verify your installation. Do not skip this step!
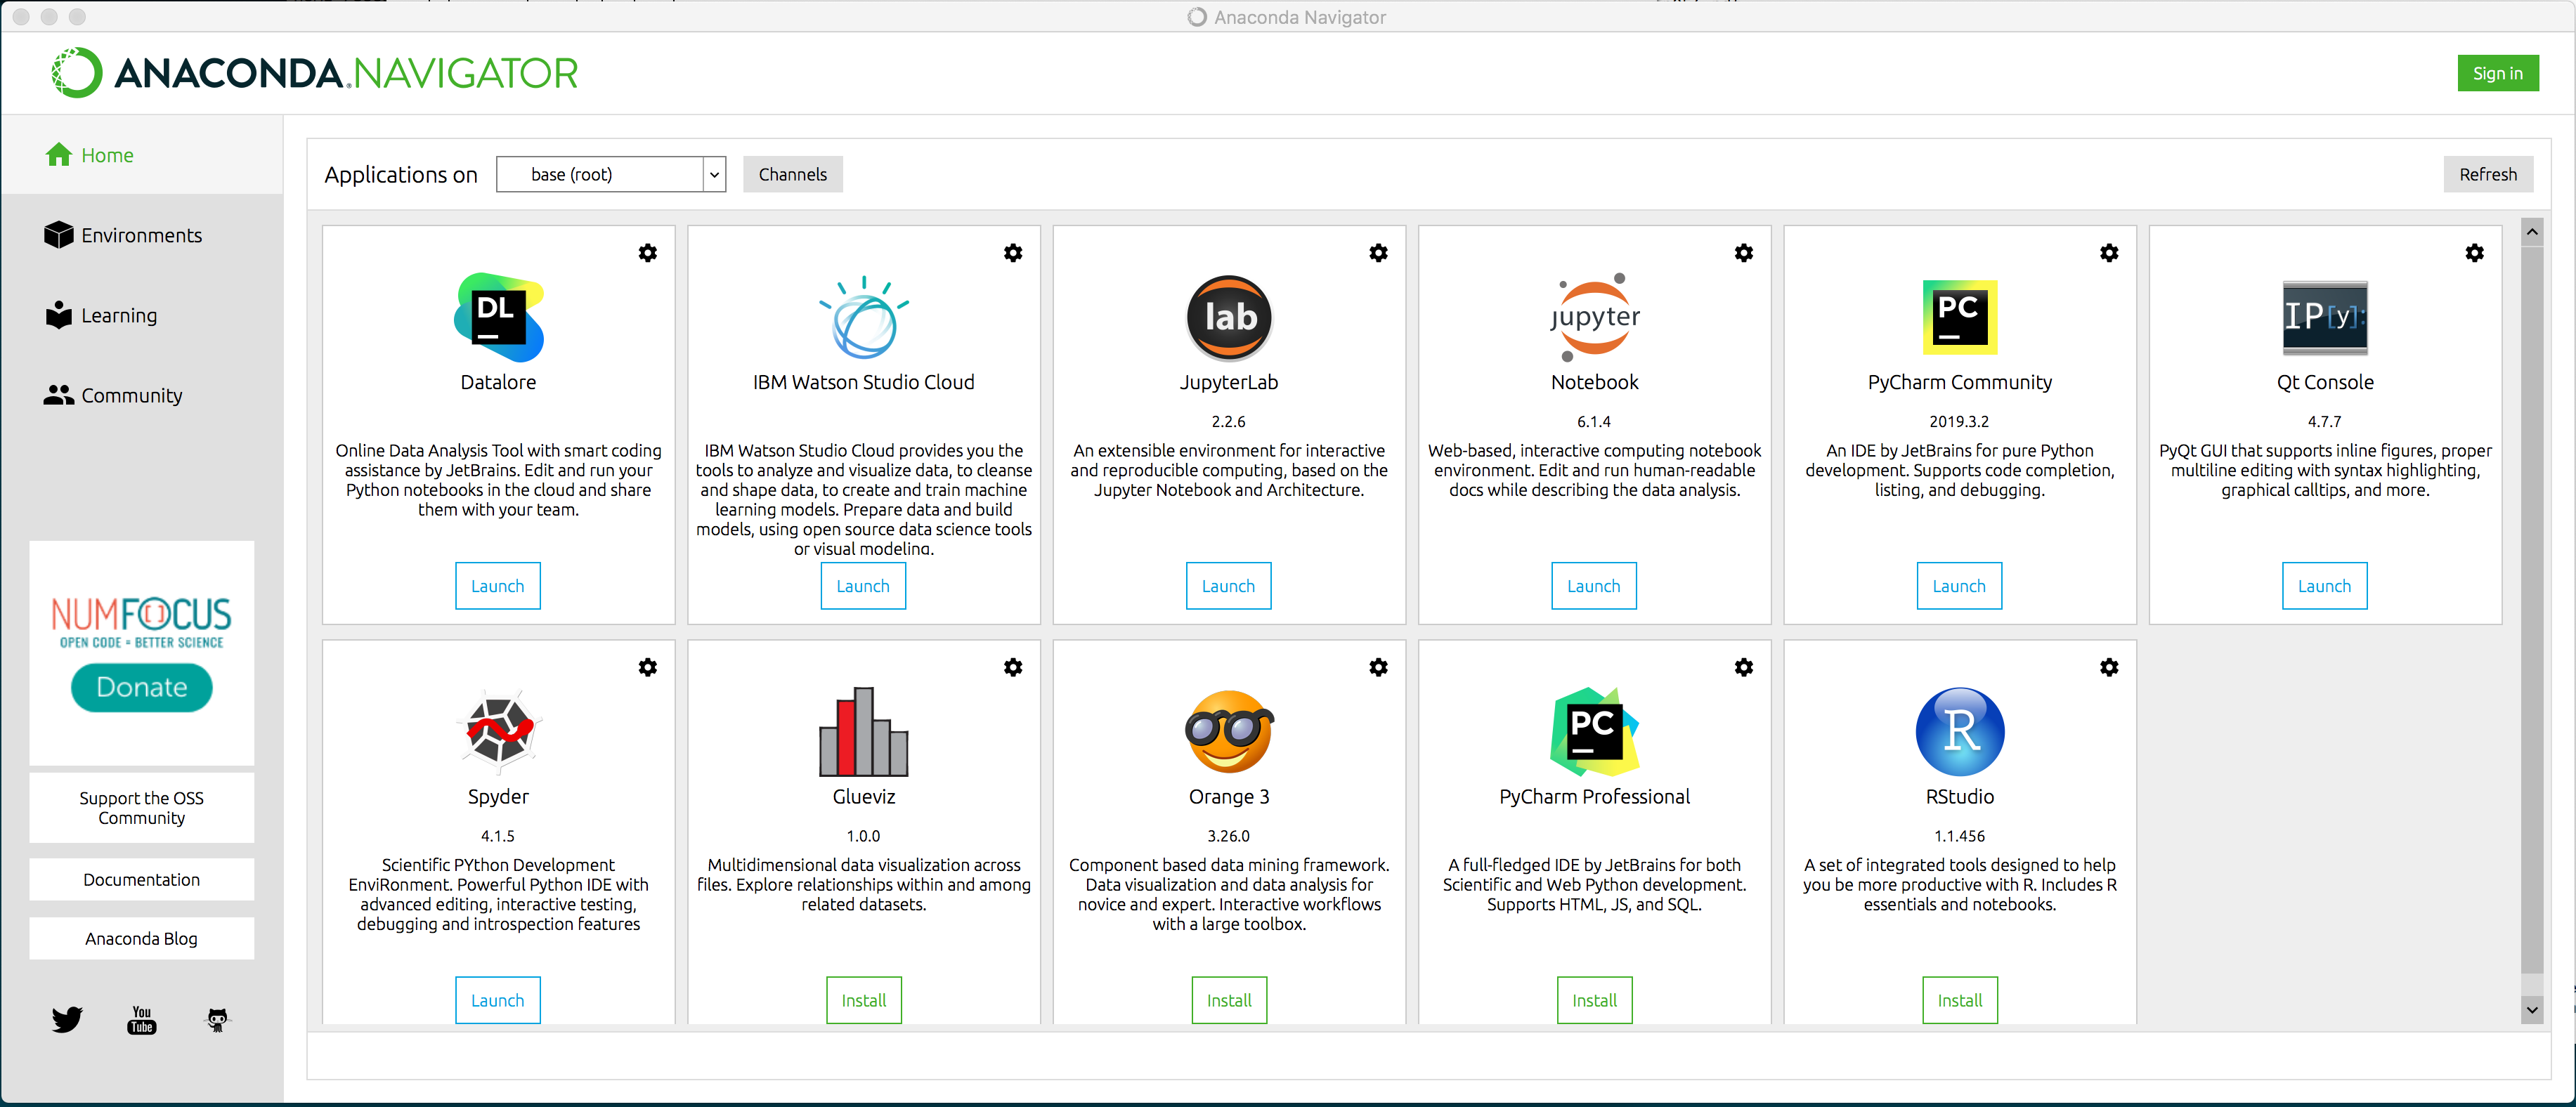
After verification, open the Anaconda Navigator from the menu.
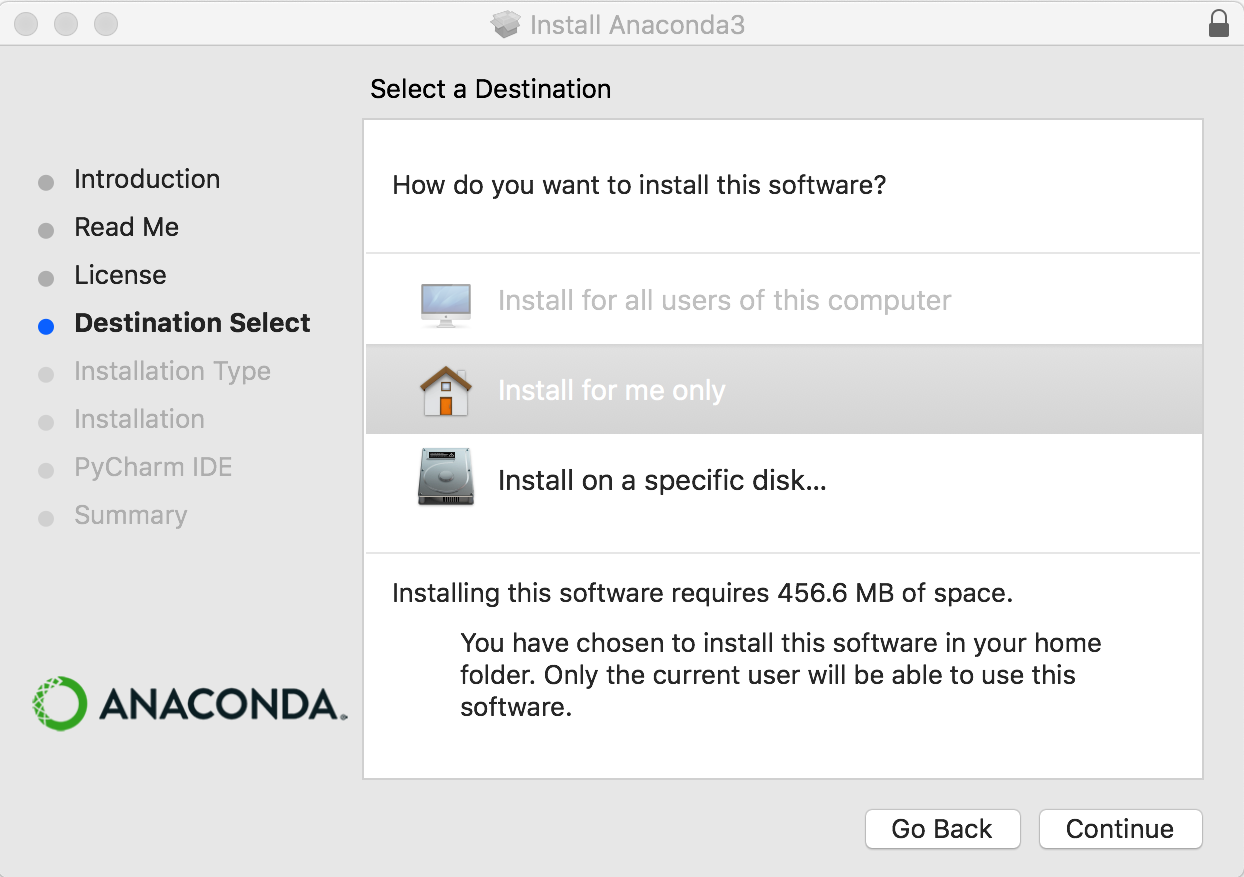
MacOS
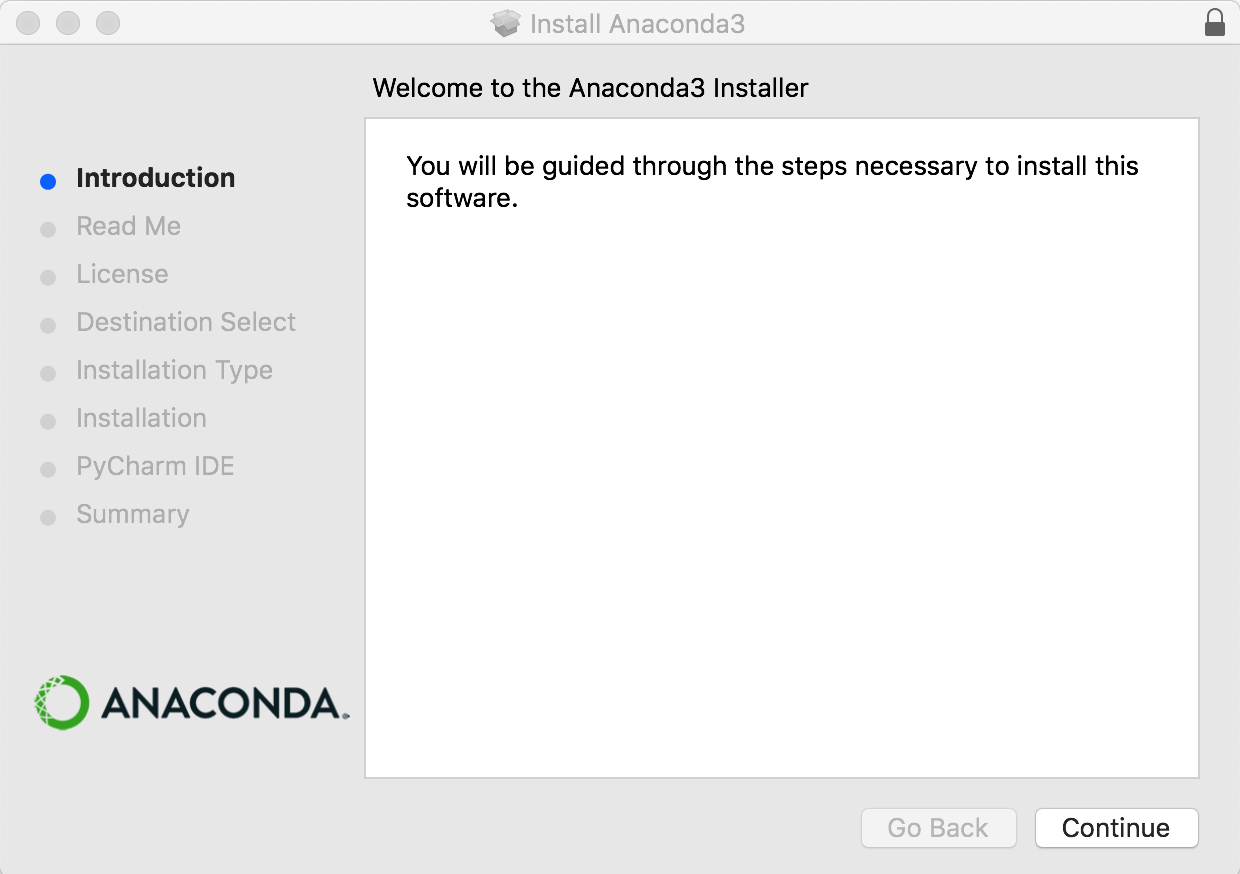
Option 1: Anaconda using the graphical installer
The easiest way is to install Anaconda using the graphical installer:
Go to the Anaconda Installation page
Select the option for macOS and follow the instructions on the page.
As the last step of the installation, you are asked to verify your installation. Do not skip this step!
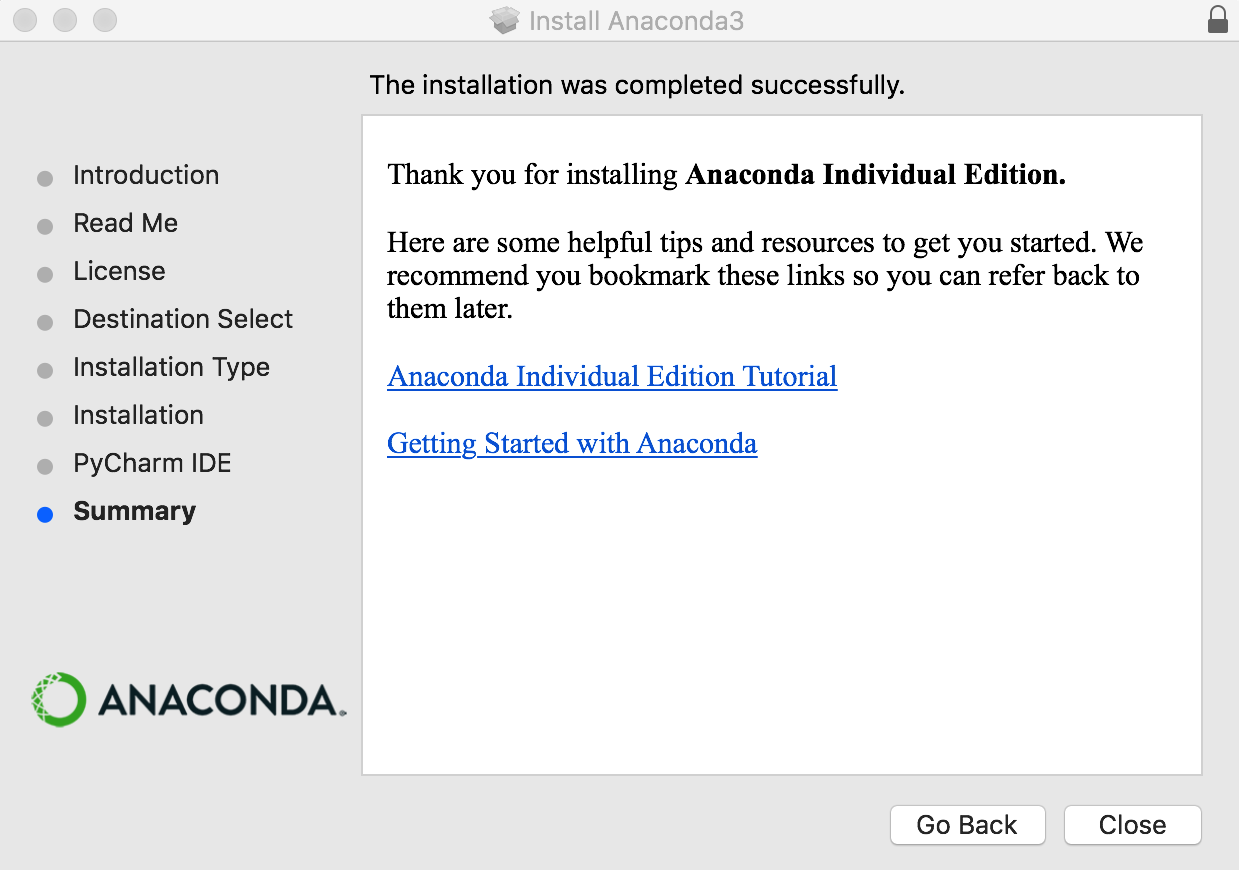
Done!
Below are screenshots from the installation process, and as the last figure shows, both Jupyter Lab and Jupyter Notebook are present:
Option 2: Anaconda using command line
If, for some reason, the graphical installer doesn’t appeal to you, it is also possible to install Anaconda using command line:
The Anaconda Installation page offers also the option to install using command line. If that is what you prefer, then choose this option instead of the graphical installer.
Option 3: Using the distribution from the Python home page
Anaconda is recommended, but this is also an option:
Download and follow the instructions.
Option 4: Pip using Homebrew
It is possible to install Python, pip and other tools using Homebrew. We will not cover this here, Anaconda installation is recommended.
Keep Python up-to-date#
Updating all packages is very easy,
conda update --all
To update conda:
conda update conda
Install packages:
conda install <package name>
Virtual environments#
Important
Install and use Python virtual environments. That is very helpful and also helps to avoid potential package conflicts upon updates.